Another string to my bow: Terra Sigillata
Having had a tutorial with Dave we have been thinking of other surface decorating techniques I could explore and add to my repertoire and using terra sigillata came up. I've only tried it once two years ago when on my first visit to the fabulous International Ceramics Studio in Kecskemet and I love the pots I have seen on which this has been applied by Magdalena Odondo and Duncan Ross:
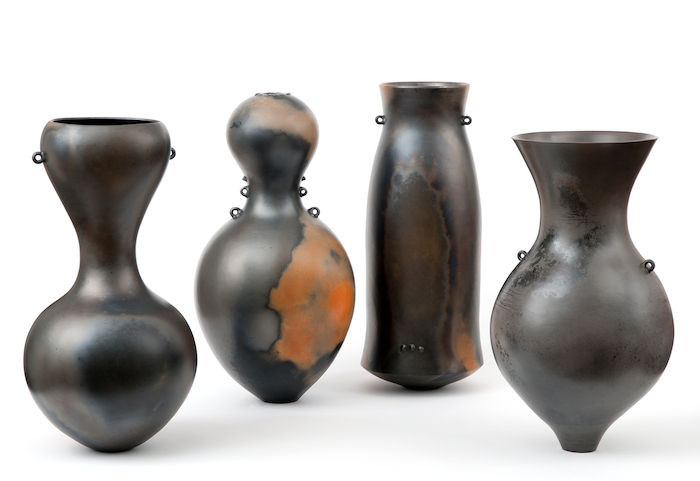

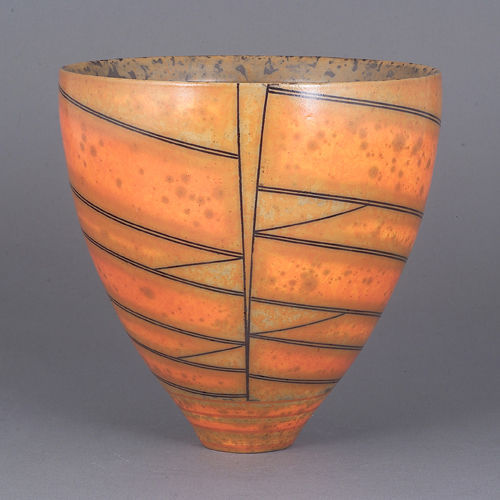
These are just two contemporary ceramic artist use this old technique of applying terra sigillata. As a potter we use the term 'terra sigillata' to refer to the ultra fine slip that is used to cover and refine the surfaces of ceramics.
However, in an art historical context terra sigillata means 'stamped earth' and refers to pottery which is made by using press mould with fine detailed reliefs. These were often covered in a fine red slip, which gave them their typical shiny surface without the application of glazes. Even though the application of such slips goes back as far as the ancient Greek and possibly into the Bronze age the term 'terra sigillata wares' applies to ceramics first produced in the Roman Empire from the 1st century BC to the 3rd century AD and the first examples - Arretine ware - were made during the 1st century in Tuscan town know today as Arezzo. The production of this type of pottery spread further through the Roman empire and pottery especially from South and Eastern Gaul became known in Britain as Samian ware.


left: Greek black & red slip decoration
right: Arretine ware
below: Samian ware

After the fall the of the Roman empire the production of terra sigillata pottery production rapidly fell and the knowledge of how produce such ware was largely forgotten until a renewed interest in the mid 18th century by the likes of Josiah Wedgwood. However, a real investigation by potter and chemist during the early 20th century brought back a renewed interest in this ancient technique, which has enabled it to incorporated into contemporary ceramics.
(For more see: Terra Sigillata High Gloss Coated Wares Made From Colloidal Slips, Oct 2017 by Eve Carrobourg: http://www.lameridiana.fi.it/pdf/MAIN-PAPER-TERRA-SIG-FINAL-VERSION.pdf)
Anyway, this is how my own investigation goes:

My first attempt was not successful at all as I used the wrong deflocculant - Calcium Chloride - or not enough of it. I started with 10g without any sign of suspension after 24 hour wait, then I added another 15g without any improvement after another 24 hour wait. As you can see from the photo no clay particles were held in suspension. Next I added 25g of Sodium Silicate, which is most recipes use as a deflocculant, without any effect. Thus I decided to scrap this and start off with a new mixture.

To make sure that I have the correct specific gravity I measured 100ml of each of the terra sig mixtures. The recommended readings should be between 1.12 and 1.17. The white terra sig is absolutely right but the red is too light. So, I will leave the lid off the red terra sig for some of the water to evaporate and will remeasure again.

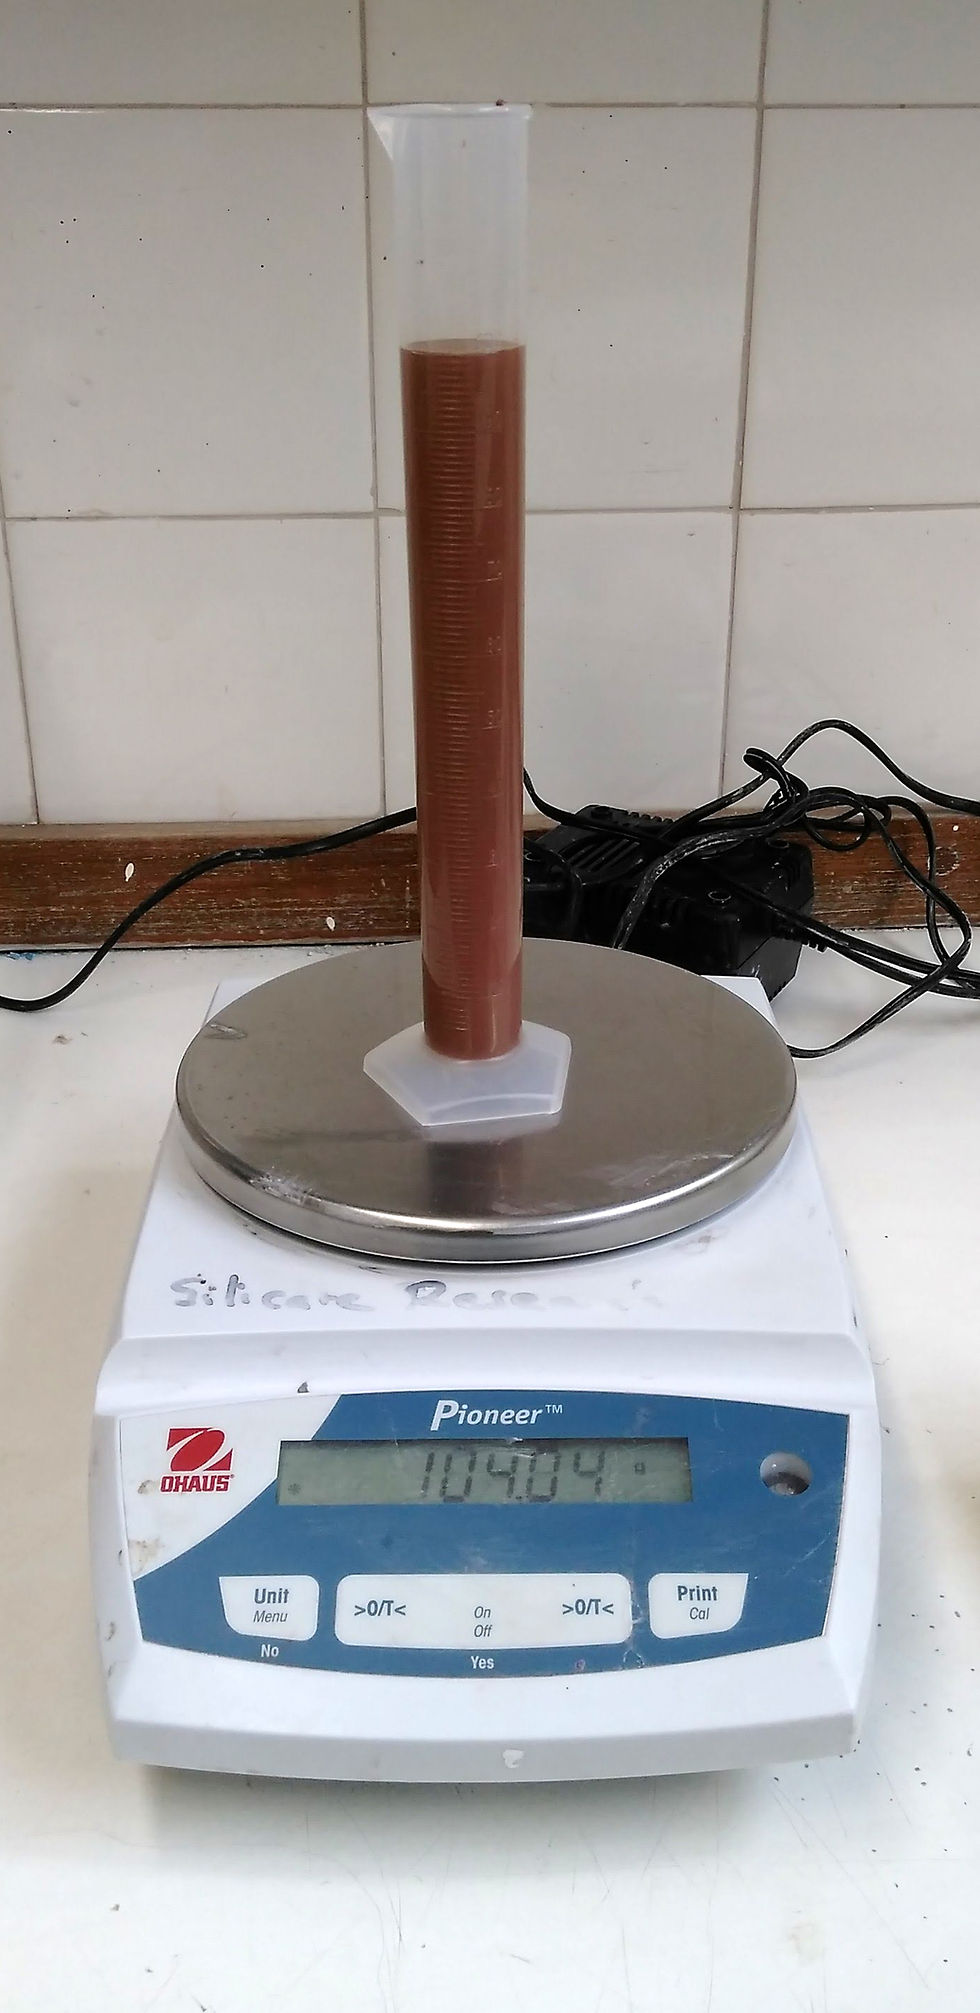
Well, even after nearly two weeks without a lid on the red terra sig has only very, very marginally gained in specific gravity. Both versions of terra sig still have some settlement of particles after a few days. However, these are so fine and smooth that I've decided not too syphon off the top or I'll never get to the desired spefic gravity.
It is time to put my two terra sigs to the test and apply these to a piece of work. Firstly, I decided to use three different colour mixtures: 90% white to 10% red, 70% white to 30% red and 100% red terra sig.
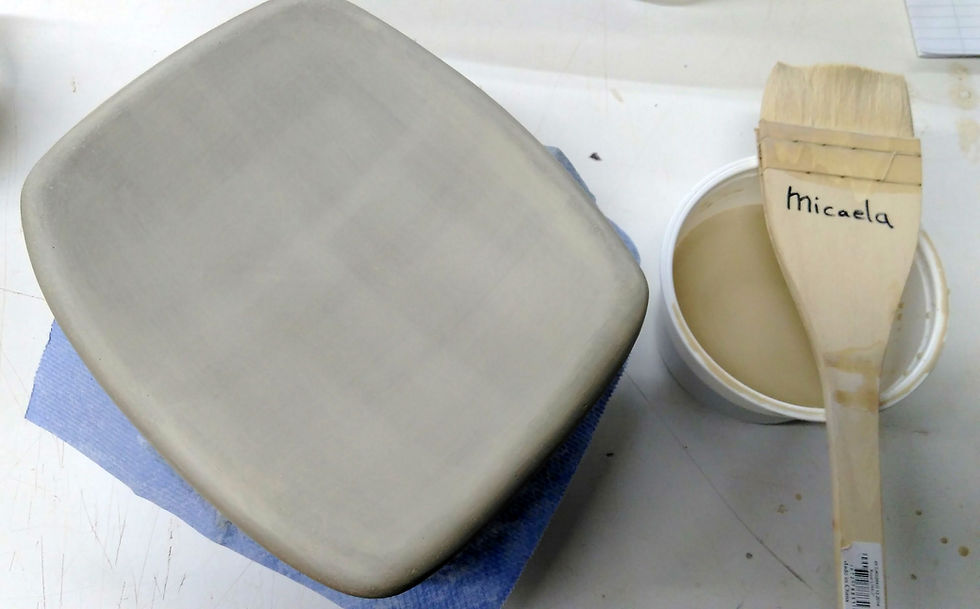
I started off applying two layers of the 90/10 terra sig brushed different directions. After the first layer it still looked quite grey (above) however, once the second layer dried the piece started to take on the new colour.

I had read that it should be easy to polish the surface once the terra sig had dried but this was even easier and more successful than I'd imaged. Just gently rubbing the surface with the fingers of my hand brought out this greta shine.

The next step was to brush on the wax resist to mask out the areas that I wanted to leave light. As I was decorating the whole platter, top and bottom, I initially had it resting on bubble wrap. This was a mistake as the wax resist is quite sticky and attached itself to the plastic and when lifted off the layer of terra sig, along with the wax, came off. The same nearly happened when it sat on the blue paper towel and even on my hand. In the end I rested it on sponge. This seemed to work.

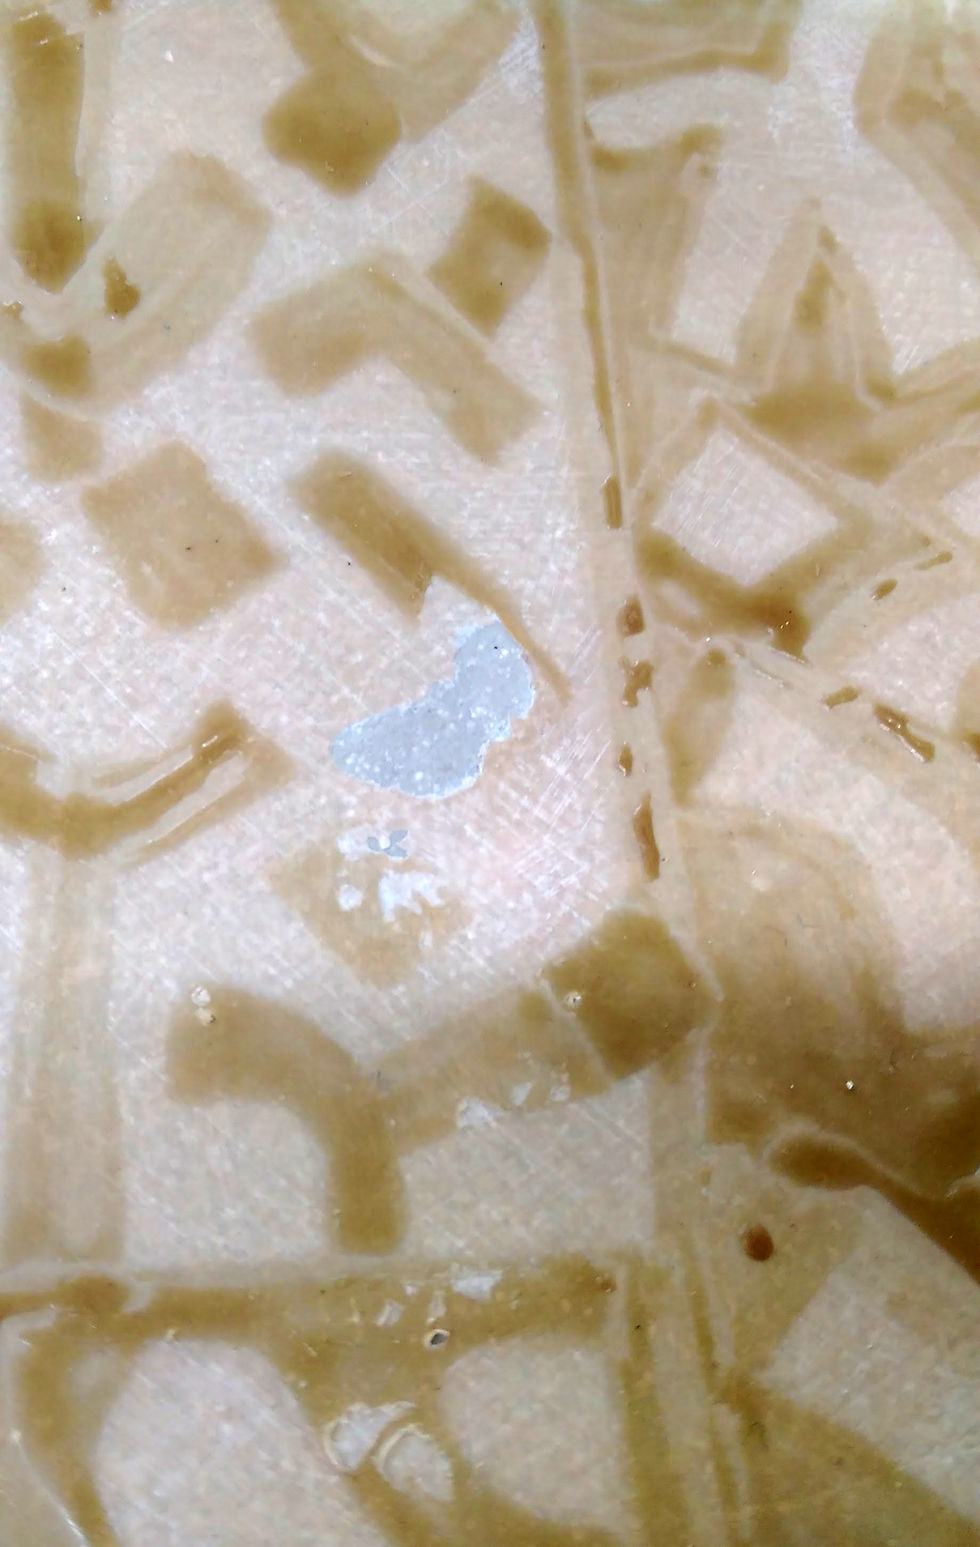
Then I built up subsequent layers applying different layers of wax resist and terra sig. I wasn't quite sure what to do about the beading of terra sig on the was surface. I tried to dab it off but in the end wiping it off with the palm of my hand was easiest and lead me to giving the surface a slight polish between each layer of terra sig.

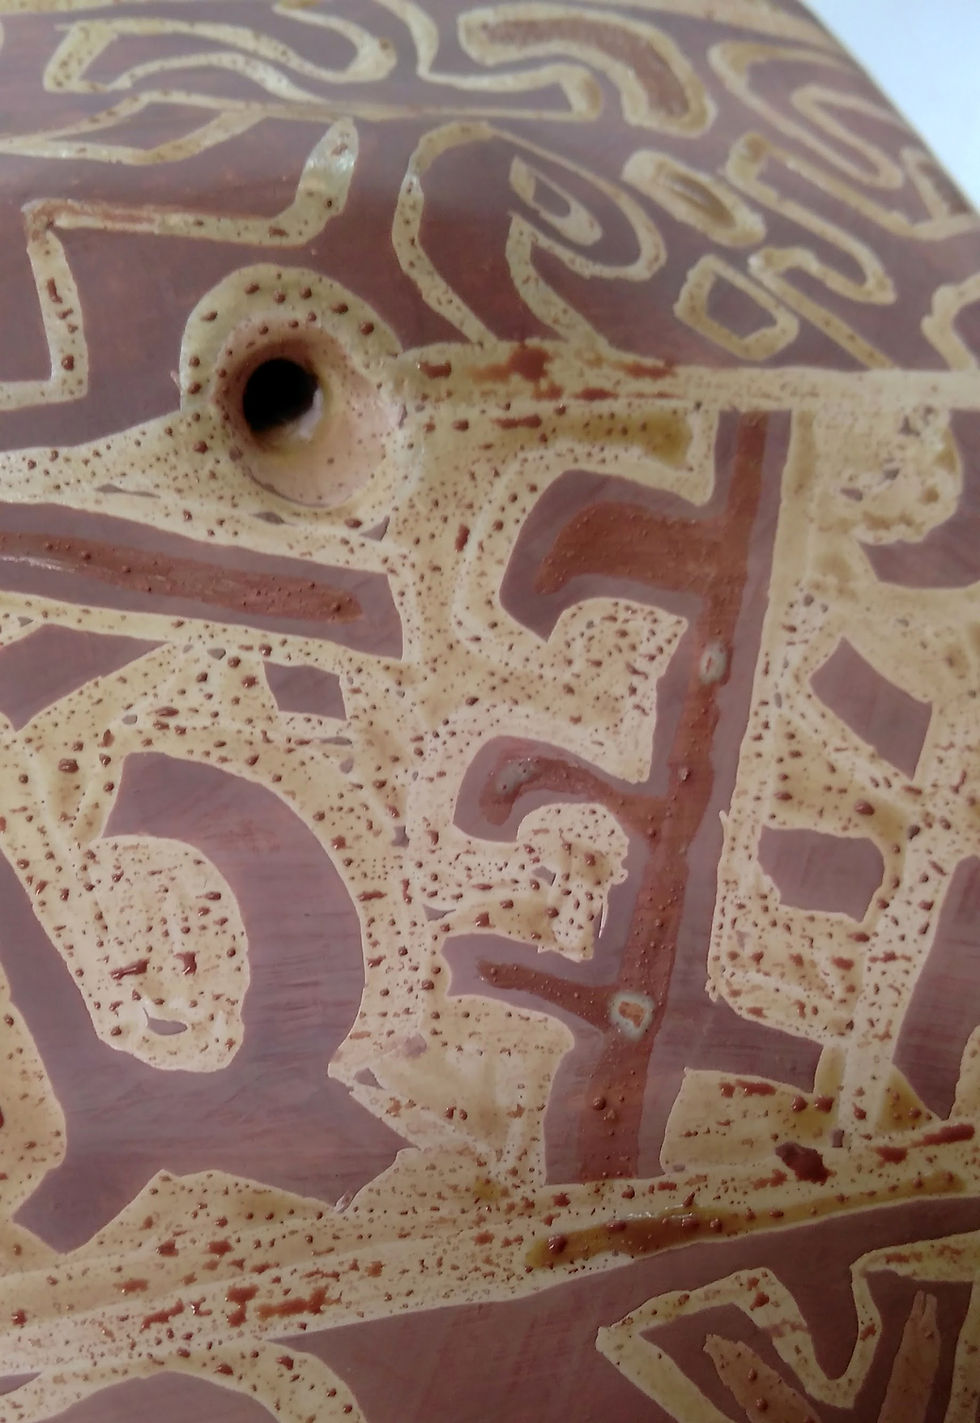
Before applying the last and darkest layer of terra sig I incised thin lines through the wax resist which I filled.
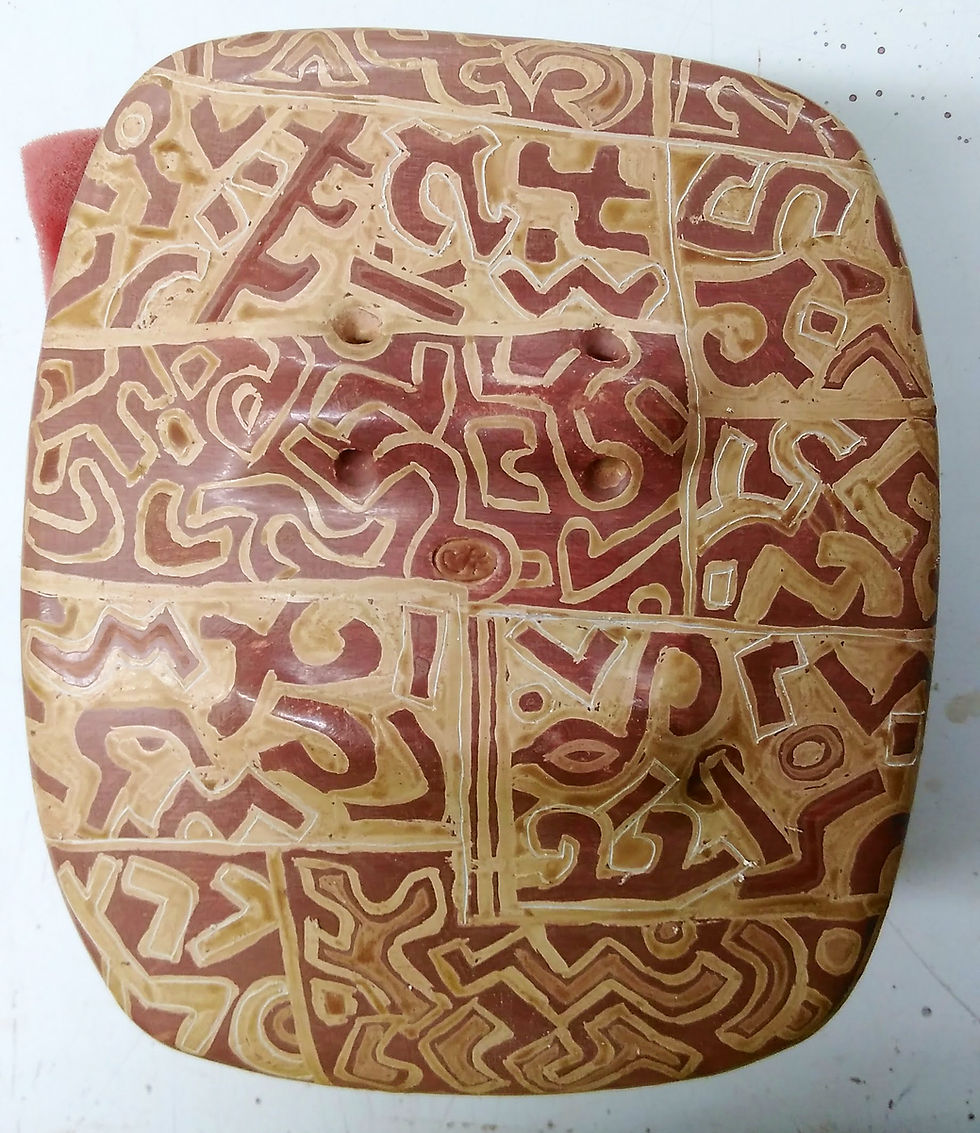
Once finished with the decorating I gave it a good polish with my hand. In a little test kiln I fired all the way in one go up to 1080°c.

I am rather please with the result of this test piece. There is obviously room for improvement. Most importantly I need to be very careful how I thickly I apply the terra sig. I had noticed that during application it tended to pool a bit on the edges of the platter. That is where I had problems with adhesion and some of the darker layers were shelling off.

I also think that the contrast between light and dark layer is too harsh. I like those few ares where I allowed for some middle tones. This could also cut down on the number of layers. I will next try it with a mix of a 90% white to 10% red, a 70% white to 30% red and a 50% white to 50% red. I will use the pure red just for accents.

I was concerned that the layers of wax would kill off the shine on the final finished piece. The areas below the wax resist did seem a bit duller than the exposed areas I managed to polish just before firing. However, once I applied a layer of furniture wax all over and buffed it up one couldn't tell the difference. The satiny shine was consistent all over.
So, what next? Maybe there is a way to enhance the character of this sort of surface treatment by smoke firing. Something to consider but not in our urban backyard where the neighbours on all sides wouldn't be too pleased...


